|
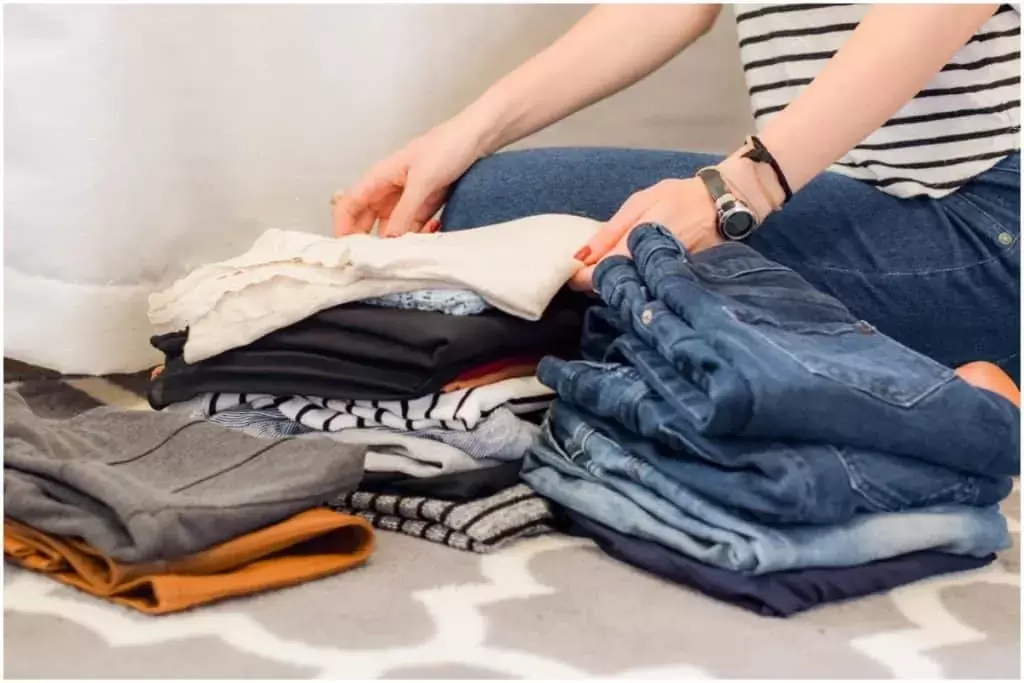
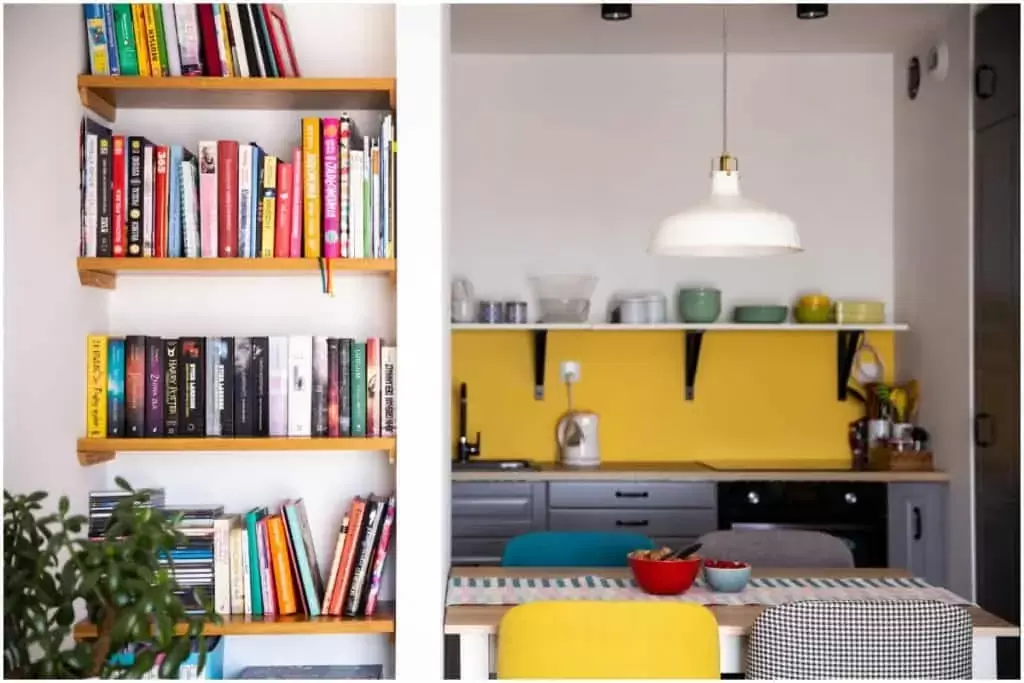
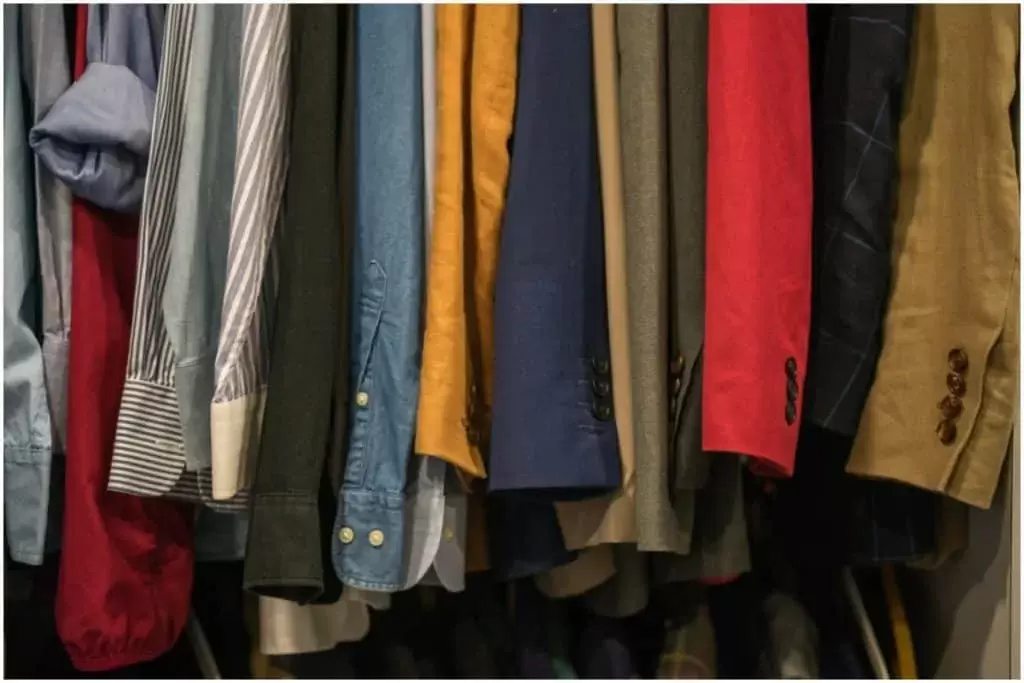
Emily Huddleston, marketing coordinator with Redfin, recently reached out and asked if I would provide an organization idea for making a small space more livable. Emily collected tips from professional organizers around the country and published this amazing article that can assist anyone frustrated with a small space. If you know me at all, you know I wholeheartedly believe that using closets, cabinets and drawers efficiently is vital, especially when living in a small home. If you haven't already received my free step-by-step guide to cleaning out a closet, I invite you to click here and get it delivered to your inbox today. Whether you’re used to living in a small space somewhere like New York, or you just recently downsized, you’ve probably quickly learned how crammed it can feel if you aren’t carefully utilizing every inch of space. But with a little purging and reorganizing, it’s easy to make your home look and feel more spacious. To help, we talked with organizing professionals to find out their best space-saving solutions. 1. Empty out everything first. It’s tempting to start organizing with everything still in its place, but there are always advantages to organizing by clearing the space first. You will find some things that were hidden and will be able to make better decisions about what to keep or donate. Plus, while everything’s out, it’s a great time to dust off shelves or vacuum out the closet. – Bring Peace Home, Stefanie Wyres 2. Less is so much more, especially when it comes to the clothing inside your closet. For my Denver clients who live in smaller homes with smaller closets, a closet edit is the very first step we take! Chances are, you only like and wear about 20% of your wardrobe. After that, I highly recommend thin velvet hangers to save space inside your closet. – The Style Shop, Sandi Mele 3. Create zones in a larger space, like a studio apartment, so it feels like each area has its own function. Zones can be separated by a screen or curtain or by arranging furniture in groupings that section of the space. Free-standing room screens start at about $40; a curtain, rod, and hooks can start at about $50. – Let’s Get Organized, Gayle M. Gruenberg 4. Store your placemats and clean napkins UNDER your sofa cushions. It keeps them nice and flat and is perfect for meals on your coffee table as well. – Simplify You, C.Lee Cawley 5. Use dual-purpose furniture. Multipurpose is the name of the game for tiny living, including furniture. Avoid large, bulky items, and instead aim for flexible, movable options, such as ottomans with storage that can be used for seating. Or a coffee table, footrest, or a folding table with wheels that can serve as a desk, dining table, or craft area. Do a search on Amazon for “folding table with wheels,” and you can see all the fun possibilities! – Priority Focused Organizing, Diane Greenhalgh 6. Store off-season clothing in a clear container at the top of your closet or use a flat container on wheels that will fit under a bed. – Simple Solution Organizing, Adele Tusson-Gross 7. Organize your things in a way that supports your habits. Know your routines and how you function then use that knowledge to decide which very specific things you need and where those things will live. To maximize efficiency in a tiny space, only keep exactly the things that you use in your daily life and always keep those things in the space where you use them. – Create Infinite Space, Jessica Borelli 8. Think vertical. Go to the ceiling with storage and function. Add a wall-mounted desk with mounted shelving above. Maximize the vertical space with four or five narrow bookcases that hold labeled bins and baskets, books and notebooks, and framed photos and keepsakes at the top. – Professional-Organizer.com, Ellen Delap 9. If you have a small kitchen, buy multi-purpose appliances. Get a blender that can also work as a food processor. If you have a steamer that you can cook rice in, there is no need to have a rice cooker as well. This way you cut down on your inventory and double your space. – Mission 2 Organize 10. Think outside the box. When it comes to small kitchens, think “outside the box” (or kitchen). Store less-used items in a basement, garage, or even a guest room closet. – Call 2 Sisters 11. Invest in a good looking step ladder. This way you can make the most of all your vertical space and access it easily. Most step ladders are a bit utilitarian looking so take the time and find one that fits with your design vibe. – Merchandised Maison, Shelley Malik 12. Organize hallway closets. Hallways are the first place in people’s homes to make an impact so this is one area that you need to maximize the usage of available space by ensuring you only keep what’s needed there. As a KonMari Consultant, I like to organize by category – if you look at what’s in your hall it’s mainly coats, shoes, and bags. However, if you just tidy the items in the hall you’ll find that similar items from around the rest of your home migrate back within a couple of days. To prevent this you need to store just the items that are used every day in the hall and find a home for the remaining items elsewhere in the house. – A Life More Organised, Sue Spencer 13. Don’t let your interests turn into your clutter. Like to read? Keep only the current book on your nightstand and invest in a small bookcase for the collection. For hobbies that have parts (think quilting, Leggos or photos) purchase multiple-use containers. They will serve you in many ways when you interested in the current project wanes. – The Zen Organizer, Regina Leeds 14. Maximize space in a closet, cabinet, or drawer. This can have a major impact in a small house. By getting rid of stashed-away items you no longer need or want, you create space and a potential new “home” for things you treasure.- Light House Organizer, Suzanne Lindsey 15. Reduce Paper Clutter. Think twice before printing information from the internet or from your computer. Develop effective systems for filing on the computer and have backup systems to ensure that your files are safe. – Amazing Spaces, Renée Ory 16. Remove packaging from pantry items. Living in a small home means creating meals in a small kitchen, often with little pantry storage. To maximize space, remove as much packaging as possible from pantry items, like snacks and bars, and put them into a simple basket or container. This low-cost tip alleviates the potential for partially empty boxes taking up valuable space as food items are used up, makes it easy to see what you have on hand and not buy duplicates, and maximizes available space. – Simplify Studio, Lisa Smith 17. Purge clothing from your closets. Every time you wear something, turn the hanger around. If by the end of the season there are hangers left without having been turned, you’ll know you haven’t worn that piece the whole season. It’ll help you weed out clothes you may not even realize you haven’t worn! – Sage Organization & Design, Jolin Polasek
18. Use benches rather than chairs in your kitchen area. This can save a lot of space and the dining table can be used as an additional kitchen counter space. – Find Serenity Space, Jane Rice 19. Understand our personal approach to clutter. When decluttering a small space it’s important we look at the practical aspects of the process. However, we first need to take the time to understand and overcome the thoughts, beliefs, and emotions that are behind our gathering of clutter and our inability to declutter. True freedom and peace of mind come from learning to let go of what’s weighing us down on all levels. This inevitably brings unexpected, exciting transformation to all areas of our lives as well as our wardrobes, homes, and workspaces. – Declutter Therapy, Breda Stack, Declutter Therapy Programmes and Professional Certifications 20. Follow the 3P’s. When organizing anything, use the 3P’s of organizing: Pair like items together; Purge what you no longer love or use, and Place the items in the best storage based on the frequency of use. – Enuff With The Stuff, Maria White 21. Over-the-door storage. My favorite tip is using a Container Store Elfa door rack on the inside of closet doors. They work great inside a linen closet door and are the perfect place for a hairdryer and all sorts of toiletries. Plus, it’s not permanently attached to the door so you can take it with you when you move. – Balanced Spaces, Susan Kousek Over-the-door storage can also hold purses, shoes, socks, or even a hamper. Here are some products that I have strategized for various clients:
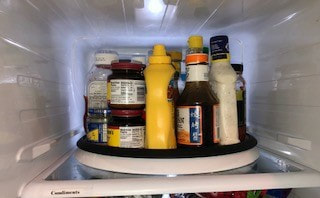
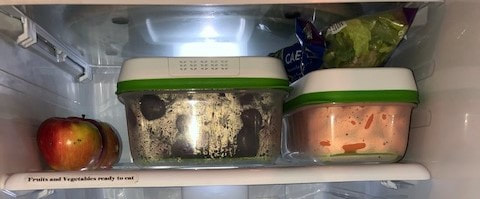
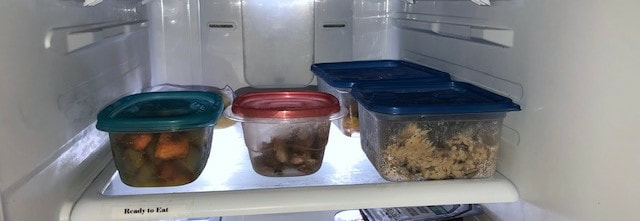
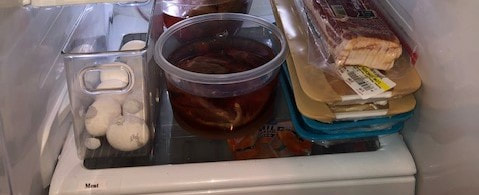
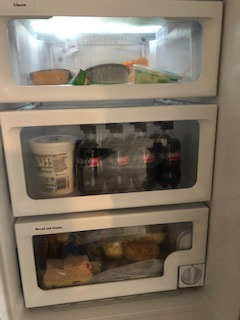
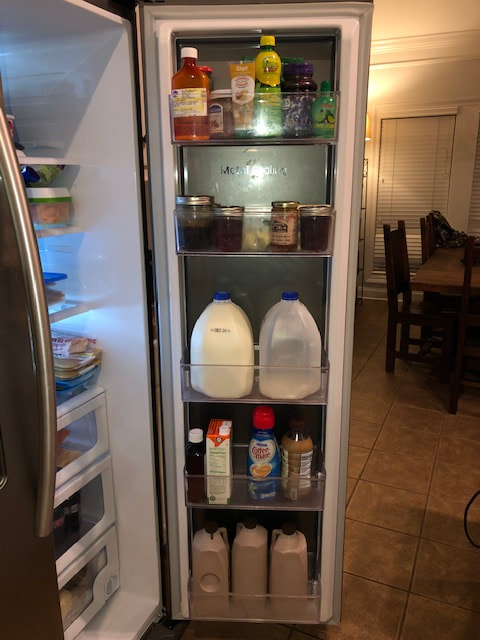
My husband, David, is a magnificent chef. I, on the other hand, am not a good cook. I made a deal with him about a year ago. I told him I would do all of the outside yard work if he would do all of the cooking. He took me up on it! I still do the meal planning and grocery shopping. So having an organized refrigerator is important to me. That way I can easily see what we need to replenish. I use an app called AnyList to meal plan and create a grocery list. I will do a video on that soon. I'm not an affiliate for them. I just really like the simplicity of it. This email is all about my thoughts on a great kitchen fridge. Top to bottom. Use a spinner (lazy susan) on a shelf for condiments. Have fruits and vegetables washed and ready for use. I will typically purchase strawberries and grapes for snacks. I will put them in cold water with apple cider vinegar (1 TBS vinegar to 1 Cup cold water). The vinegar slows down the mold process. Let them soak for just a minute or two. Then lay them out on paper towels to dry. I then put them in a Rubbermaid Fruit Storage Container. It really lasts longer! I was amazed the first time I did this. Here is a link to purchase it on Amazon. I'm not an affiliate. https://amzn.to/2AkKW9g In this picture I have carrots in the container on the right. I just opened the bag and poured them in. I didn't soak these in vinegar water. Have a shelf just for left overs. If you look closely you will see my label on the white part of the shelf. It is labeled "Ready to Eat". I didn't put "Leftovers" on the tag, 'cause 'aint nobody gonna eat it then! 😂 Have a shelf for meats ready to cook."What's that in the bowl?" you ask. Duck. Ready for some good 'ole duck gumbo. Now we have reached the 3 bottom drawers. Drawer 1: Cheese Drawer 2: My foods I set this drawer aside for my foods when I was following a special diet, and I didn't want my food eaten by teenagers! Ha! I haven't given it up, but now it really just holds my coke zeros, Greek yogurt, and peanut butter protein balls. Drawer 3: Bread, Grains and Potatoes My refrigerator door. Most people say don't put your milk on the door because it is the warmest place in the fridge. Our particular fridge is made to have milk on the door. It has an extra cold panel that accommodates for the higher temperature. We keep medications as well as David's seasonings he cooks with on the top shelf and jelly on the second shelf.
I have a place for everything, and it is even labeled.😃 However, there are 4 other people living in my house, and well, you know. Like anything, regular maintenance is imperative. That's just real life. Look closely and you'll see jelly on the top shelf and medication with the milk! Ha! I do try to clean out the fridge on Thursday evenings since garbage runs on Fridays here. On Friday I meal plan and on Saturday I run to the grocery. Well, that's it for today. Blessings! Suzanne
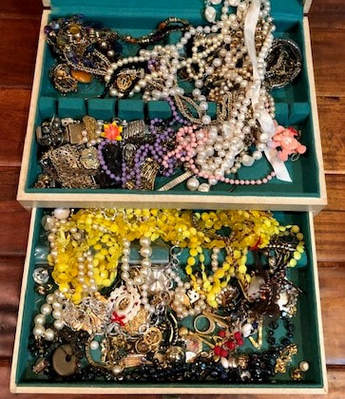
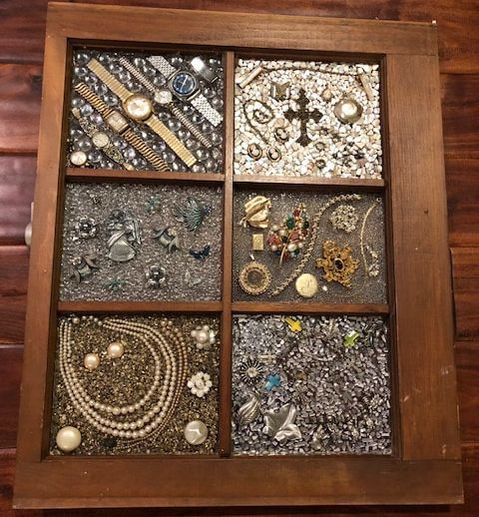
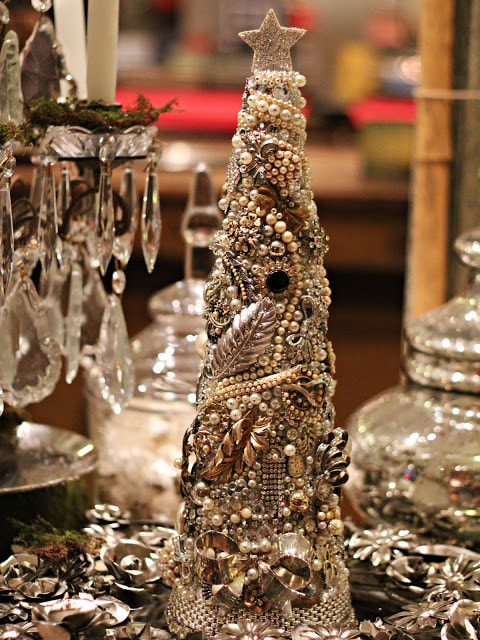
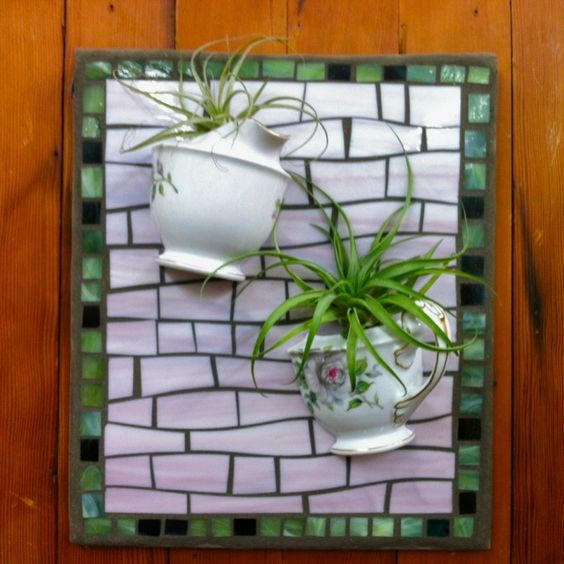
So I purchased this old window pane, and I plan to hang it on the wall in my bathroom. Now I have the most fantastical treasure EVAH! (By the way, fantastical is a word. My pastor made it up last Sunday. Ha!)
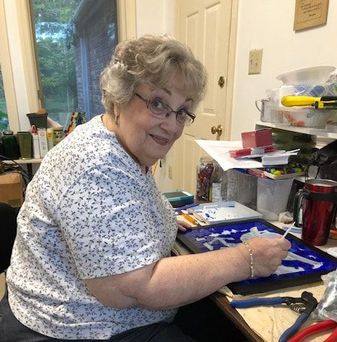
Have a great week! Blessings, Suzanne P.S. Here is a picture of Nancy working in her mosaic studio. She also had an idea of what to do with china your mom or grandmother had. P.P.S. If you have an idea of something you make with your sentimental items, email me back. I would love to hear about it! [email protected]
Hiya!
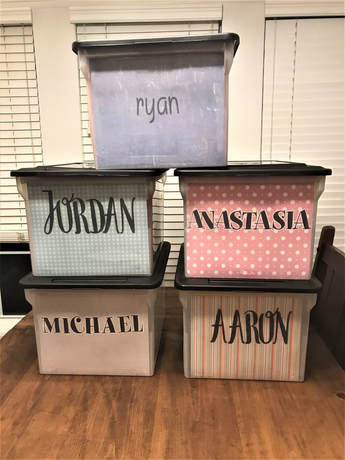
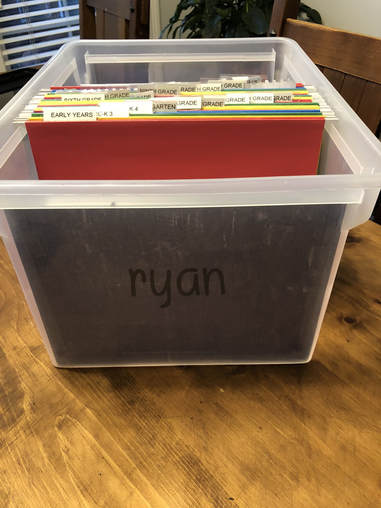
Have you ever had a crazy good reason to panic - thinking you may lose all of your precious pictures? At almost every house where I have had the privilege of decluttering and organizing, I have come across physical pictures in drawers, cabinets and shoeboxes. Well, that got me thinking. I desperately needed to educate myself on photo preservation and organization..... then offer this service to my own clients! So, about 8 months ago I invested in APPO (Association for Professional Photo Organizers - Yep! It's a thing. Cool huh?) and I purchased a super duper top of the line photo scanner. I recently taught a workshop at the Madison Library. It covered the importance of having a plan for keeping our photographs (digital and physical) safe. We need a foolproof plan to keep our photos from being destroyed by water, fire or a downright wonky computer or cell phone. I'm sure you're now wondering how to start getting your own photos protected and organized. Step 1: You call or text me and let's talk about your current state of photos -No judgement here. I promise! 601-454-7361 Step 2: Let's determine which kind of girl you are: A. "Show-Me-How-To-Do-It-And-I-Can-Do-It-Myself" B. "Do-It-With-Me" C. "Do-It-For-Me" Show Me How To Do It. I Can Do It Myself- If this is you, you really should check out Miss Freddie's Back Up Bootcamp. It is an online course that she offers for a reasonable $49. I am an affiliate for her, but you need to know I wouldn't recommend her if I didn't think it was the best program for learning how to do it yourself. Miss Freddie's bootcamp is for digital photographs. I can still scan the physical pictures for you if you need that service. For more information on her bootcamp, click this link: http://www.backupbootcamp.missfreddy.com/intro?a=TGLAFaa3 To register for her bootcamp, click this link: http://www.backupbootcamp.missfreddy.com/register?a=TGLAFaa3 For your video memories that need to be converted to digital, I highly recommend Laurie at Scan South. She is located here in Jackson so there will be no mailing it out of town! It is awesome. I am also an affiliate for her so please let her know I sent ya (there is no extra charge to you). I just think it is such a valuable resource right here in our own backyard! https://www.scansouthms.com/ Do It With Me- If this is more your style, then I can just pack up my computer, my portable photo scanner, and an cold Coke Icee and head to your house! We will tackle this together. Do It For Me- If you are raising your hand and shouting, "Memememe", then guess what? I'll come pick up your memories and take care of it at my house. Doesn't that sound like fun? Here's to making your memories last longer than your lifetime, Blessings, Suzanne Do you have a hard time knowing what to do with the best of your child's artwork at the end of the school year? Do you ever wonder how to keep up with the writing samples of those very first alphabet letters that made your heart melt when your child was in Kindergarten? Or perhaps, you have a high school senior that hands you a bottle of red dirt from the baseball field of his very last high school baseball game to play (yep, that really happened to me this year). This is the best solution I have seen around to keep up with those treasures. My fellow professional organizer and friend, Emily Lowry, of Organizing with Emily, created this system, and she gave me permission to share the "how to" with you!
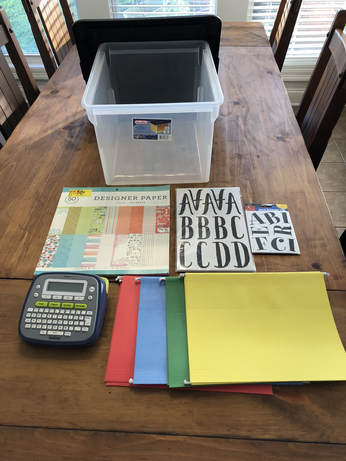
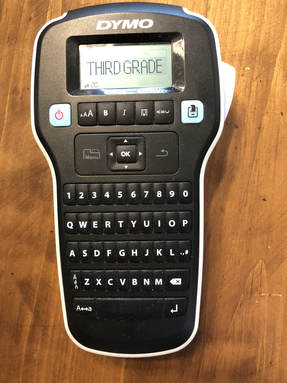
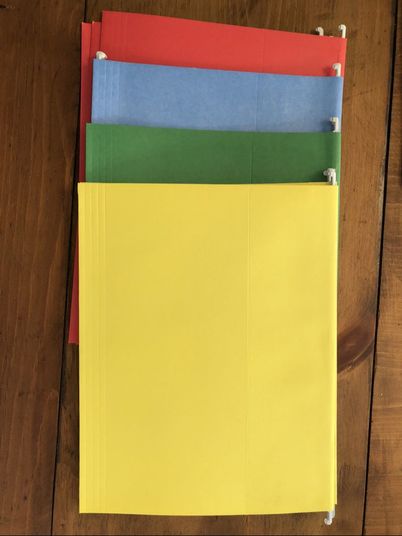
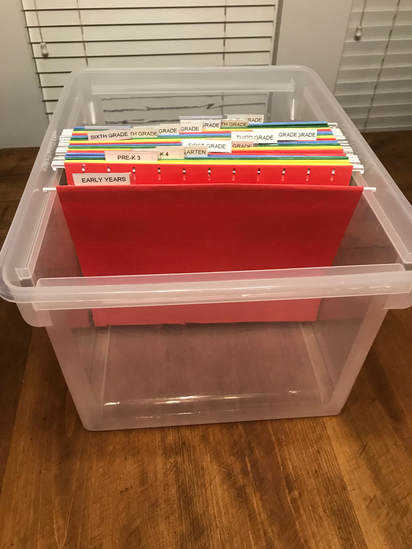
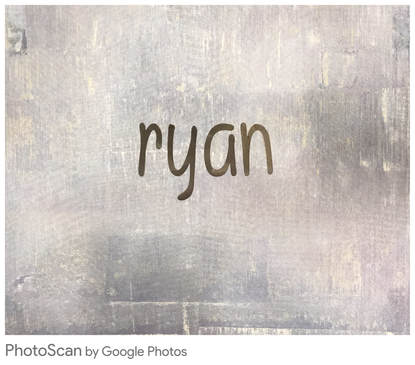
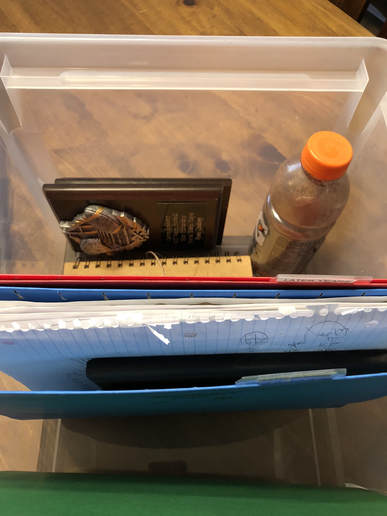
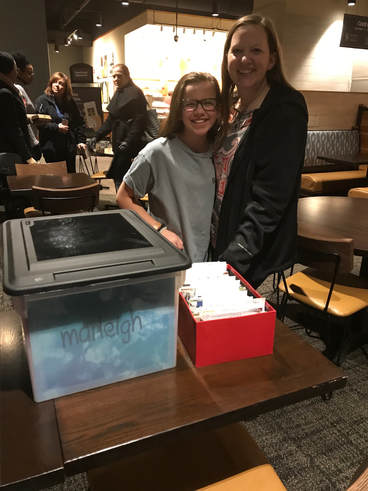
Step 1: Make a label for each folder. This can be handwritten or created with a label maker. Early Years Pre-K 3 Pre-K 4 Kindergarten First Grade Second Grade Third Grade Fourth Grade Fifth Grade Sixth Grade Seventh Grade Eighth Grade Ninth Grade Tenth Grade Eleventh Grade Twelfth Grade Later Years Step 2: Place the labels on the hanging folders and put them in your file box. Step 3: Choose your paper design and your sticker letters. Carefully place the name using the sticker letters in the center of the paper. Step 4: Use double sided tape, and stick the name plate on the inside of the file box. Step 5: Fill 'er up! Now you have a place to put those cute writing samples and any awards or certificates your child has won. You have a home for the report cards and priceless artwork. And right there in the Gatorade bottle is that baseball diamond red dirt! Gotta love it! These are truly treasure boxes that hold just enough (not too much, not too little) to reminisce for years to come. P.S. Take a look at this sweet picture of a client and her daughter who came to a photo and memorabilia organizing workshop. We had a blast! We put dozens of birthday cards she received in her memorabilia box along with artwork and awards. You rock Marleigh! Contact me for more information on photo or memorabilia organizing workshops.
|
SuzanneHey there! I'm Suzanne Lindsey. I'm just a Jesus girl who is having a blast helping people simplify and declutter. |

